No-Bake Cherry Cheesecake With Freeze-Dried Fruit

Looking for a dessert that blends farm-fresh flavor with a bit of gourmet flair? At Chelan Ranch, we’ve transformed our naturally sweet freeze-dried cherries into the star of this creamy, no-bake cheesecake. Set atop a golden, lightly toasted graham cracker crust baked for 8 minutes, this pie is the perfect balance of tangy, sweet, and satisfyingly crisp.
Let’s Build That Cherry Bliss
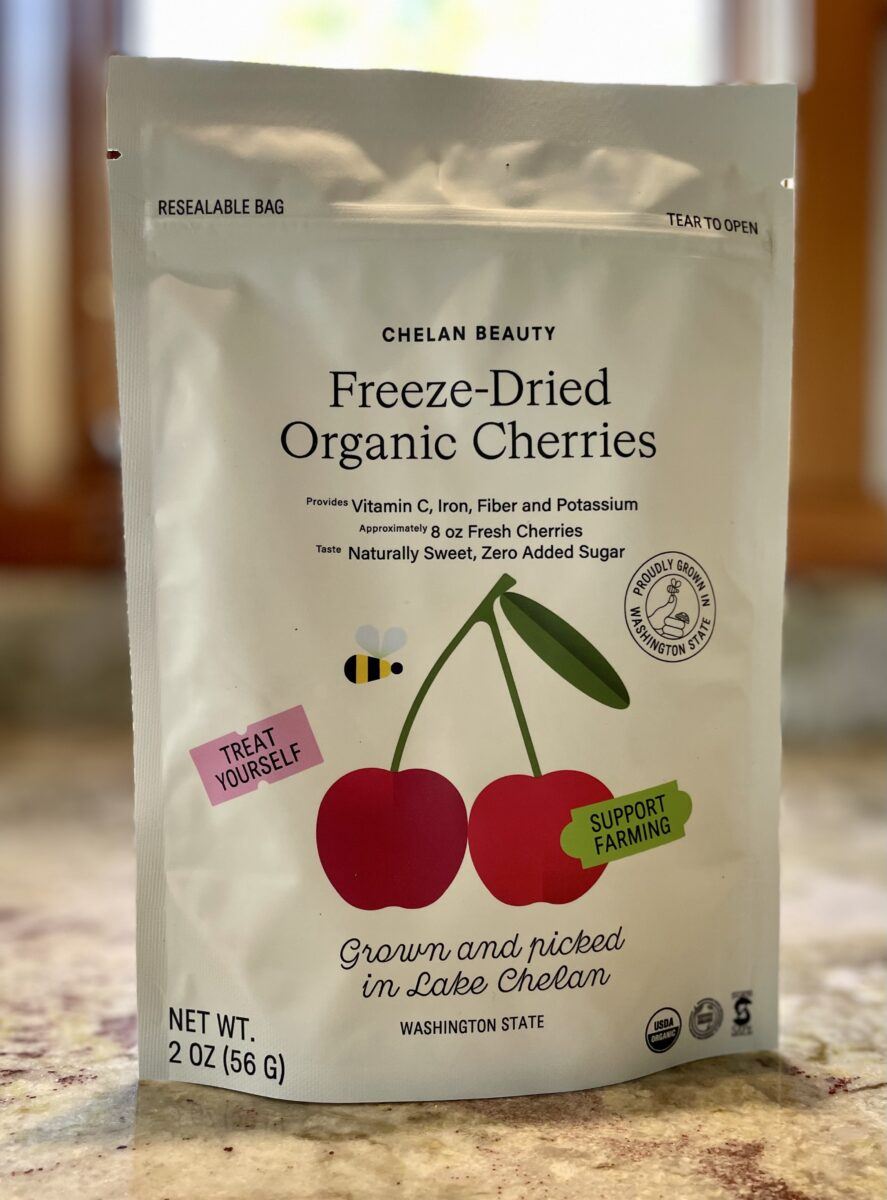
These are the stars of the show — Chelan Ranch freeze-dried cherries. Grown organically and picked at peak ripeness, they’re dried to preserve their intense, naturally sweet flavor. Unlike syrupy pie fillings, these cherries add vibrant color and bold cherry taste without any added moisture, making them perfect for mixing straight into the creamy cheesecake filling.
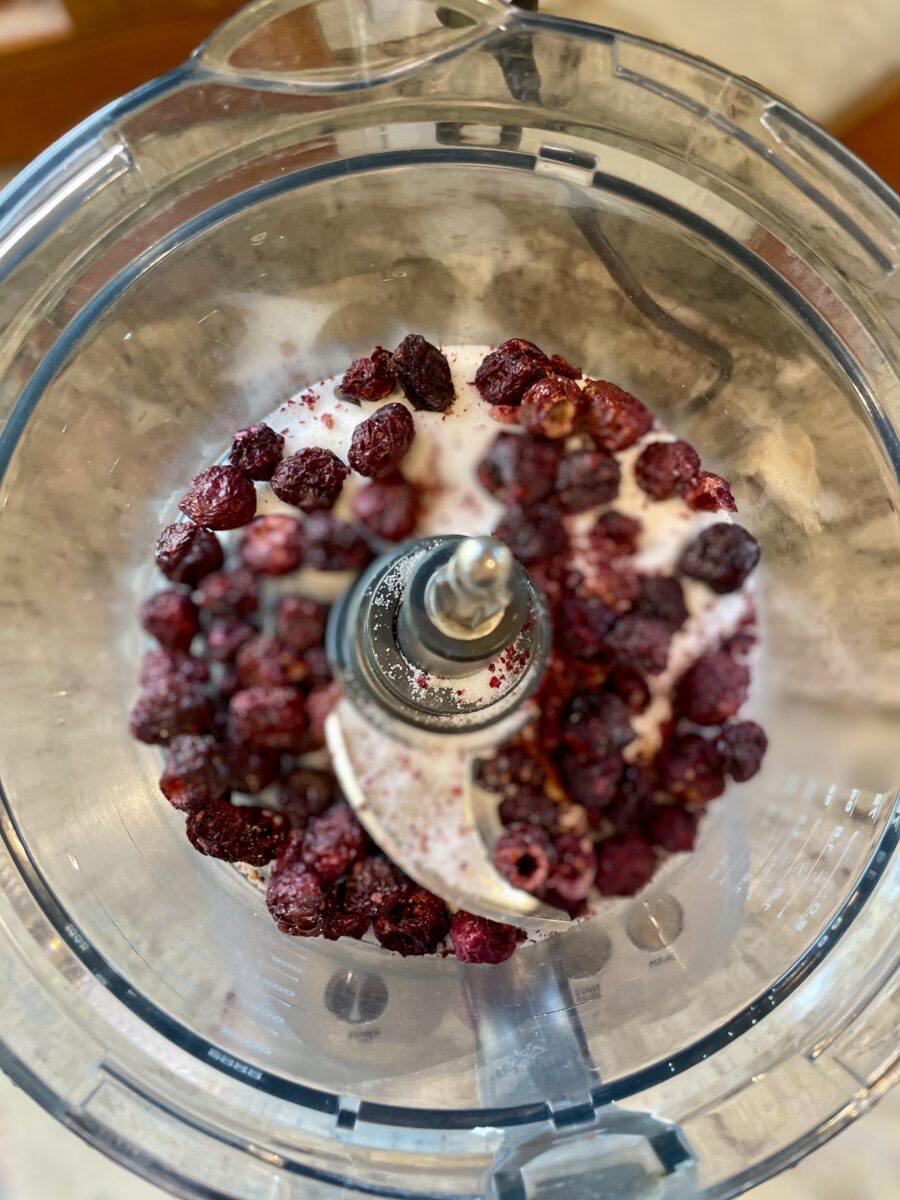
Add the freeze-dried cherries and sugar to a food processor and pulse until the cherries break down into small, colorful bits. Blending them with the sugar helps evenly distribute that bold cherry flavor throughout the cheesecake, and gives the filling a beautiful blush of color.
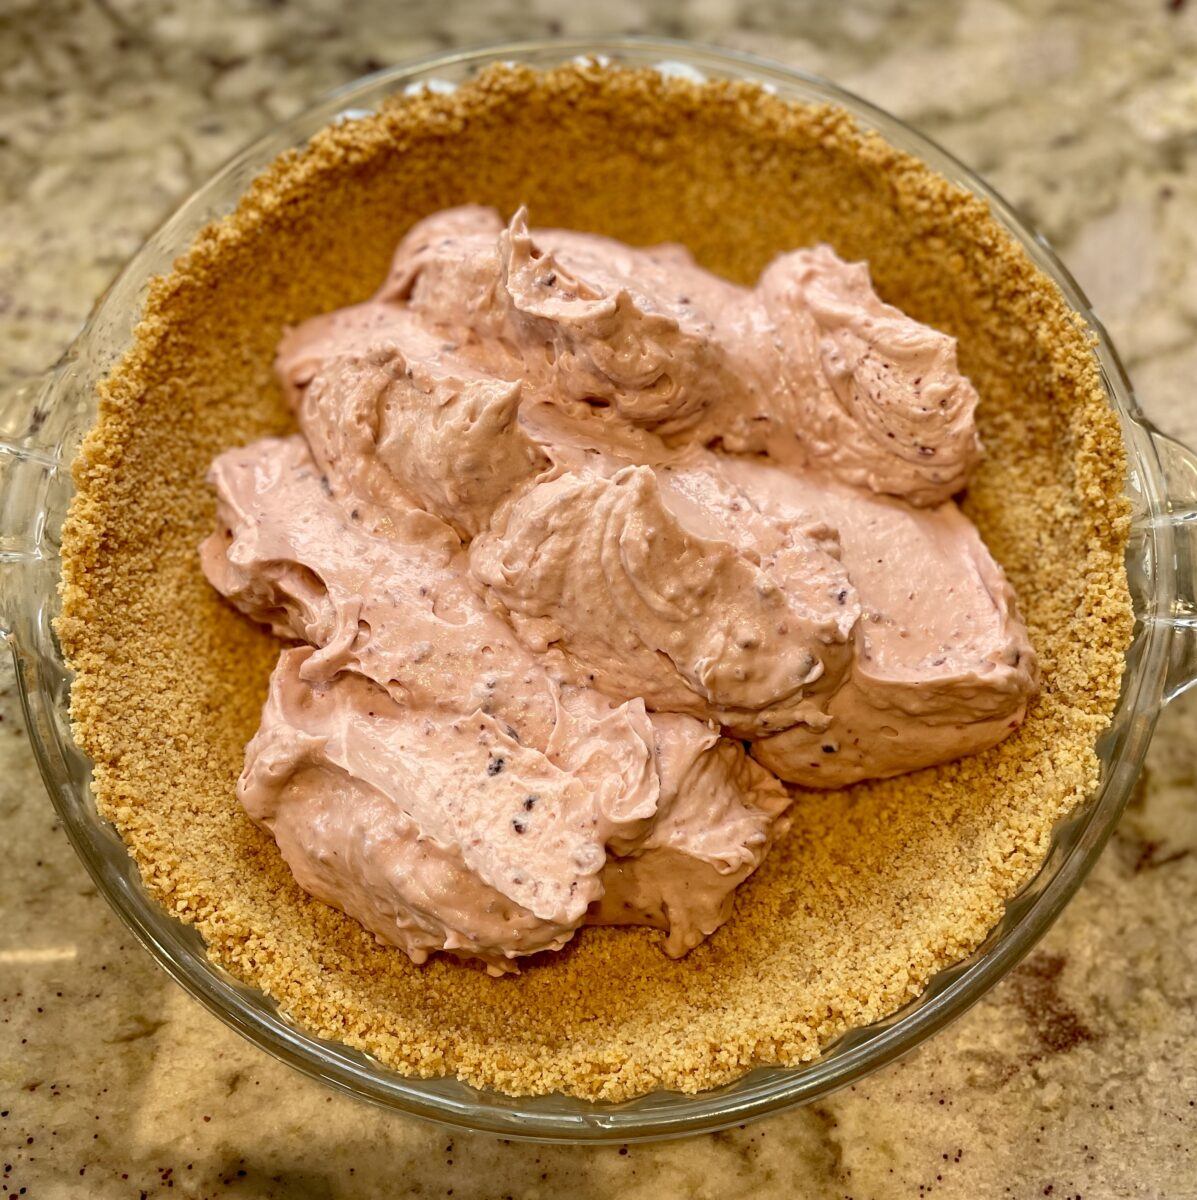
In a large bowl, beat the cream cheese until smooth and fluffy, then mix in the powdered sugar and vanilla for a rich, tangy base. Once fully blended, gently fold in the whipped cream to lighten the mixture into a soft, mousse-like texture. This step gives the cheesecake its signature creamy, airy bite.

Once the creamy cherry filling is nestled into the crust, you can enjoy it just as it is, or take it to the next level with this glossy cherry syrup made from reconstituted freeze-dried cherries. It adds a tart-sweet flavor and a beautiful finish to each slice. Want to make your own? Reconstituted Freeze-Dried Cherry Syrup Recipe.

Whether hosting a summer gathering or treating yourself, this simple yet elegant dessert brings the bold taste of Washington cherries to your table.
Print
No-Bake Cherry Cheesecake With Freeze-Dried Fruit
Description
No-Bake Cherry Cheesecake With Freeze-Dried Cherries
Ingredients
- 3/4 cup sugar
- 3 cups Chelan Ranch Freeze-Dried Cherries (2 – 2 ounce pouches)
- 2 – 8 ounce packages cream cheese
- 3 tablespoons fresh lemon juice
- 1/4 teaspoon almond extract
- 1/8 teaspoon kosher salt
- 1 3/4 cups heavy cream
Instructions
- In a food processor, pulse the sugar and freeze-dried cherries until powdery and fine, about 1 minute.
- Combine the cream cheese, cherry-sugar mixture, lemon juice, almond extract, and salt in the bowl of a stand mixer fitted with the paddle attachment. Mix on low speed until a thick paste forms, then increase to medium speed and beat until smooth and creamy.
- Remove the bowl from the stand mixer. Add the heavy cream and use a handheld electric mixer or a large whisk to mix on low speed just until the cream is incorporated. Increase to high speed and whip until the mixture holds stiff peaks, 3 to 5 minutes.
- Spoon the filling into a prepared, cooled graham cracker crust and spread it evenly, using the back of a spoon to create soft swoops and swirls on top.
- Cover with plastic wrap and refrigerate until firm and chilled through, about 6 hours or until the internal temperature reaches 40°F (4°C).
Notes
If desired, top with fresh fruit or a drizzle of reconstituted freeze-dried cherry syrup.
Use a hot chef’s knife to cut clean wedges—rinse the blade under hot running water and wipe it dry between each slice for the neatest presentation.
When lifting out slices, gently slide a pie server under the crust, making sure to reach the tip of the wedge. (The first slice is always the trickiest—it may be messy to remove.)
Leftovers can be wrapped tightly in plastic and refrigerated for up to one week.