The Perfect 'Old World' Pie Crust
Before we start, I’d like to recommend a few tools to make this recipe failproof.
I’ve made a lot of pie crusts over the years, and my biggest challenge has been when the dough sticks to the countertop as I roll it out. Luckily, I’ve subscribed to the “Old World Pie” look or even “Rustic Crust” and peel the dough off the counter. Then I patch it together. I recently discovered the OXO Good Grips Silicone Pastry Mat and it has changed my life. Imagine, a non-slip and non-stick pastry mat! Now I want to make a pie crust every day.
The other tool I recommend is a pastry cutter. I know what you’re thinking. Why cut the butter by hand when you can use a food processor? The food processor has the potential to overwork the ingredients to create excess gluten and a tough leathery crust in a heartbeat of a whirling blade.
Remember, if the pie crust doesn’t look perfect, call it Old World Pie or Rustic Crust Pie. People will love it!
Alternatively, may I suggest the tried and true method of manually cutting the butter into the flour until it looks like bread crumbs. I assure you, the compliments you receive for this outstanding crust will outweigh the tiny bit of extra effort. Since butter has more flavor than other shortenings or lard, it’s my first choice.
Just make sure everything else is cold (rolling pin, countertop, dry ingredients and the water) to allow the flour to coat the butter and make space which leads to flakiness. Remember, if the pie crust doesn’t look perfect, call it Old World Pie or Rustic Crust Pie. People will love it!
Here we go!
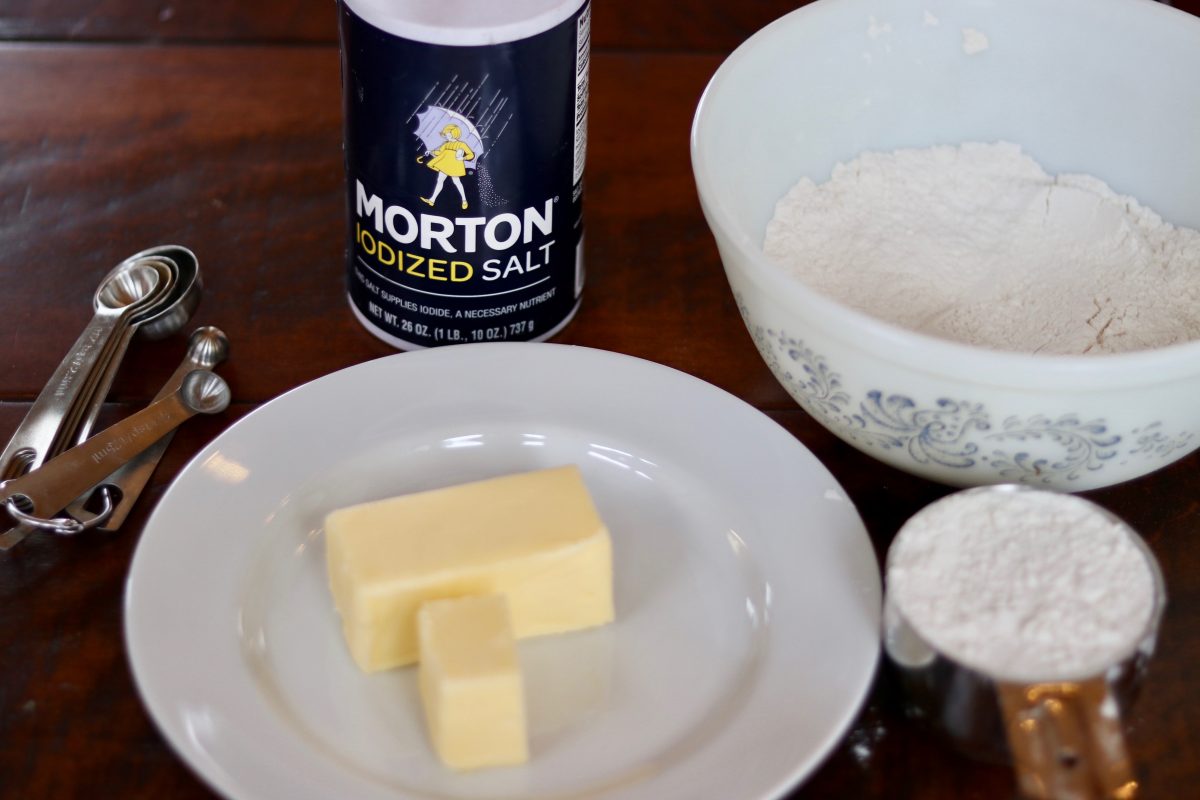
Pie crust is just flour, water, and some type shortening plus a pinch of salt.
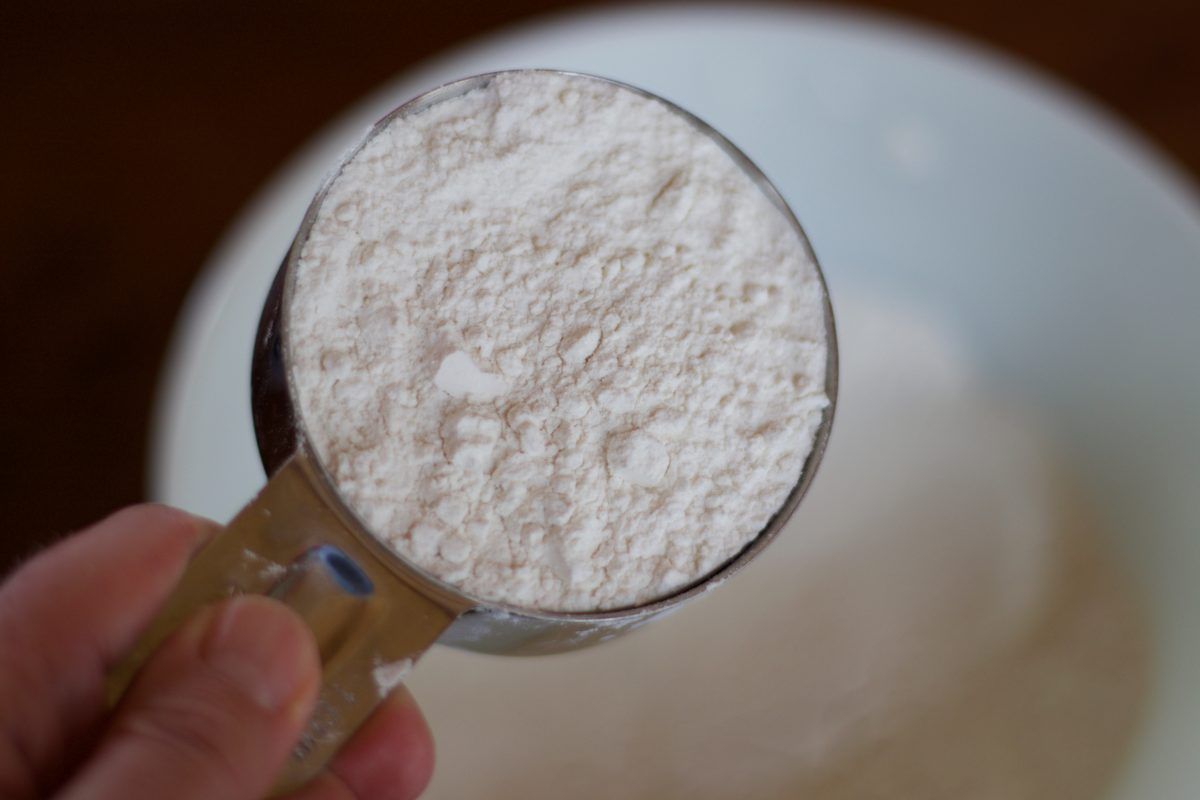
Get it started with a couple cups of flour.
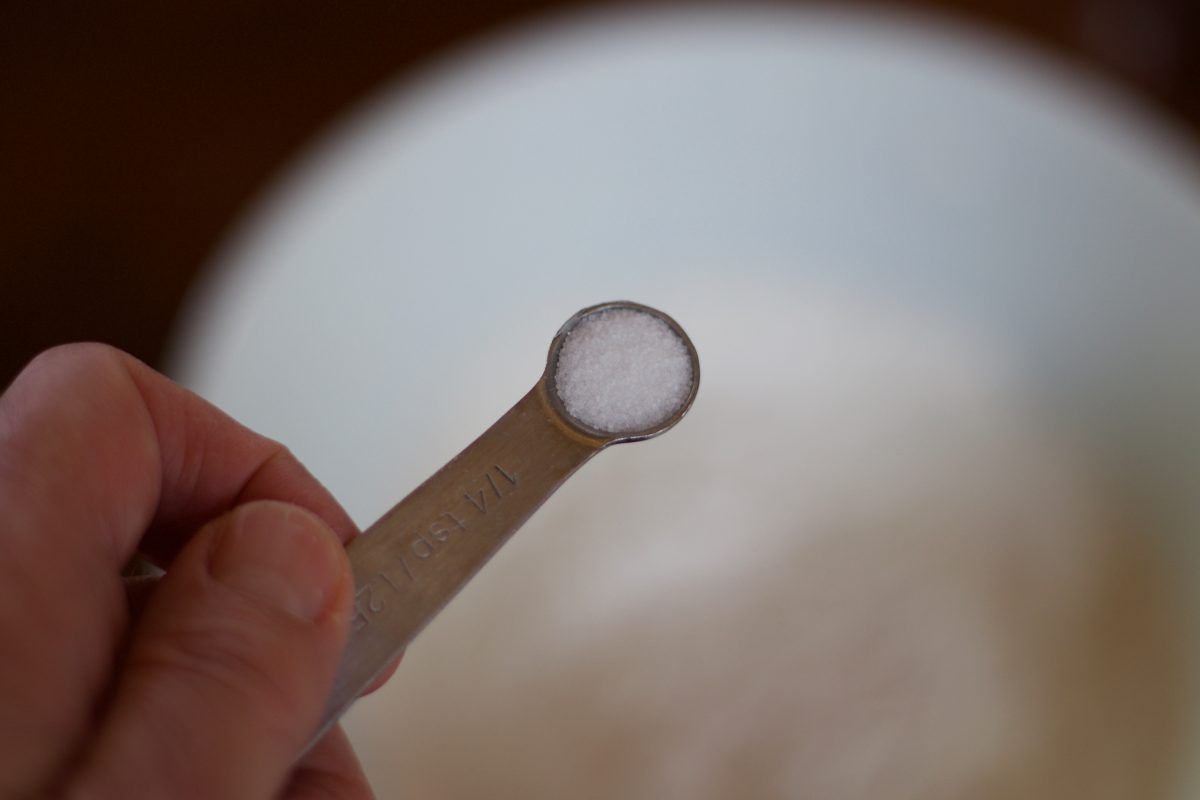
Throw in a pinch of salt.
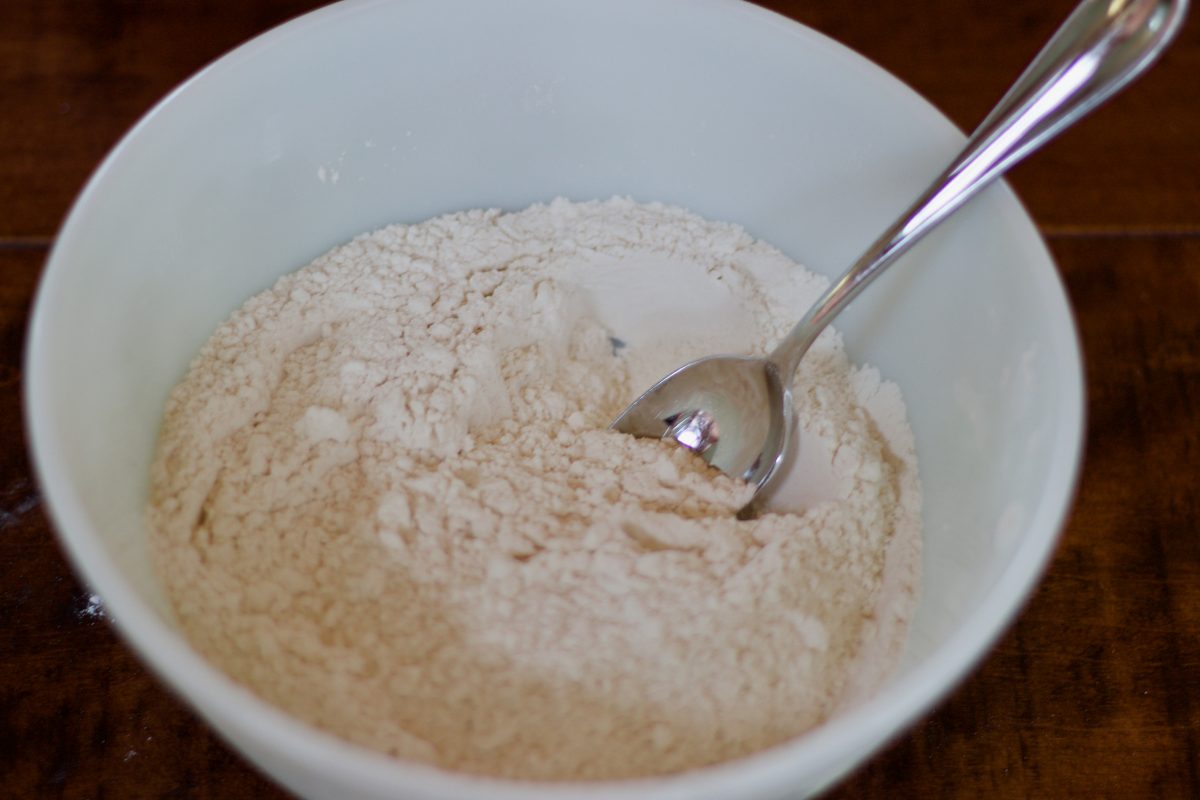
Stir it together with the spoon.
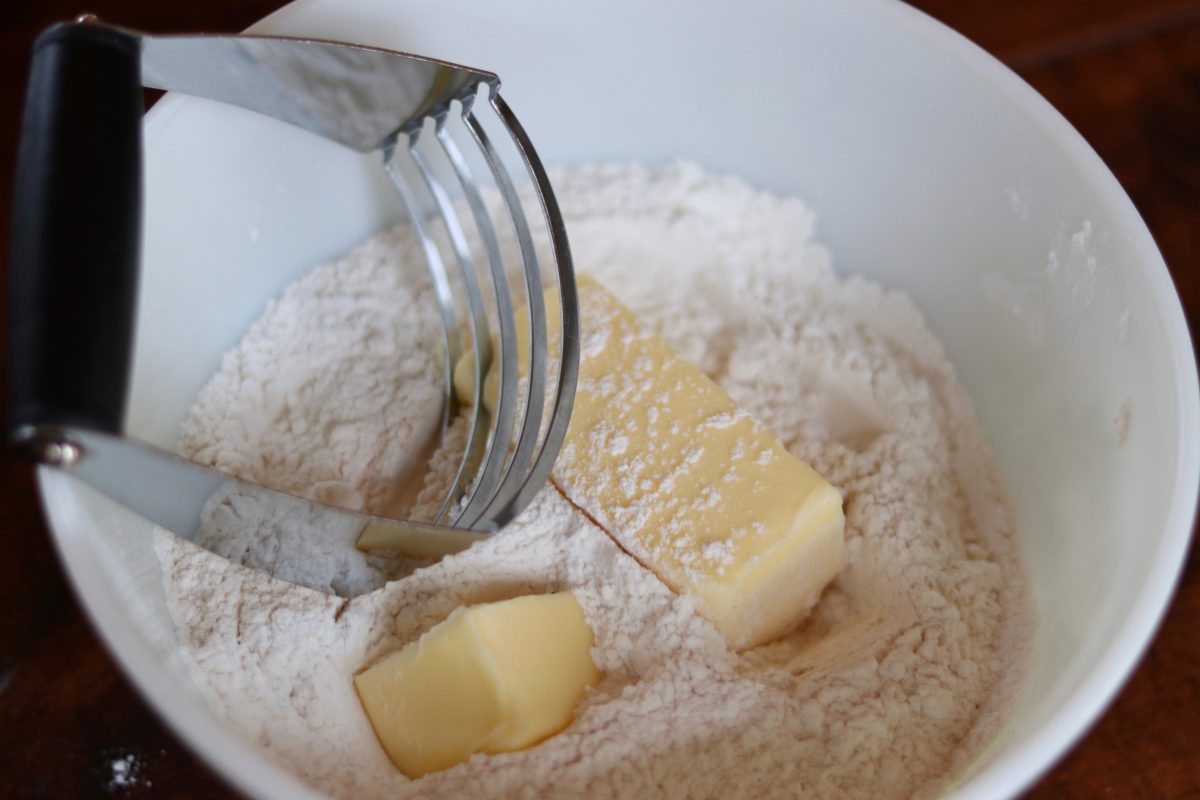
The blades of the pastry cutter will work best if butter is room temperature.
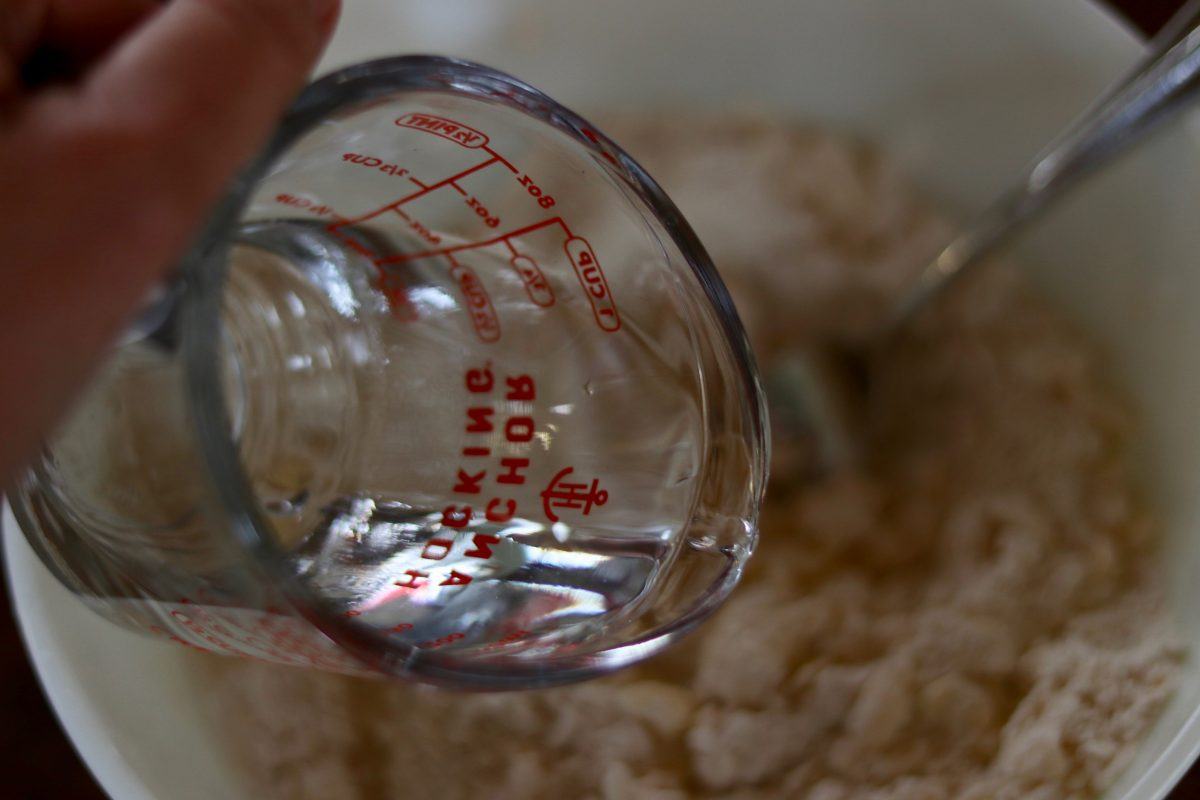
As you sprinkle the COLD water into the dry ingredients, stir vigorously with a fork just until the dough begins to lump together.
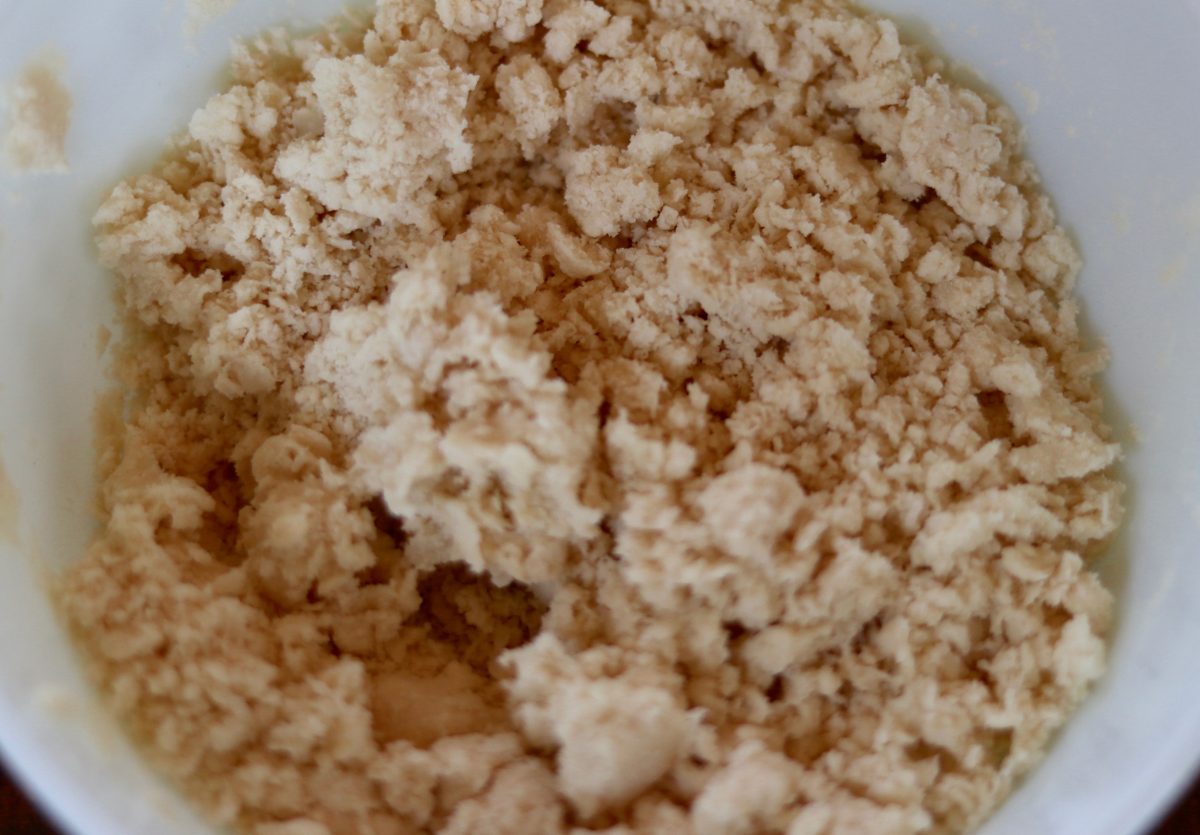
Now try forming the dough into a disk. If it’s too dry, add a few more sprinkles of water and stir with a fork.
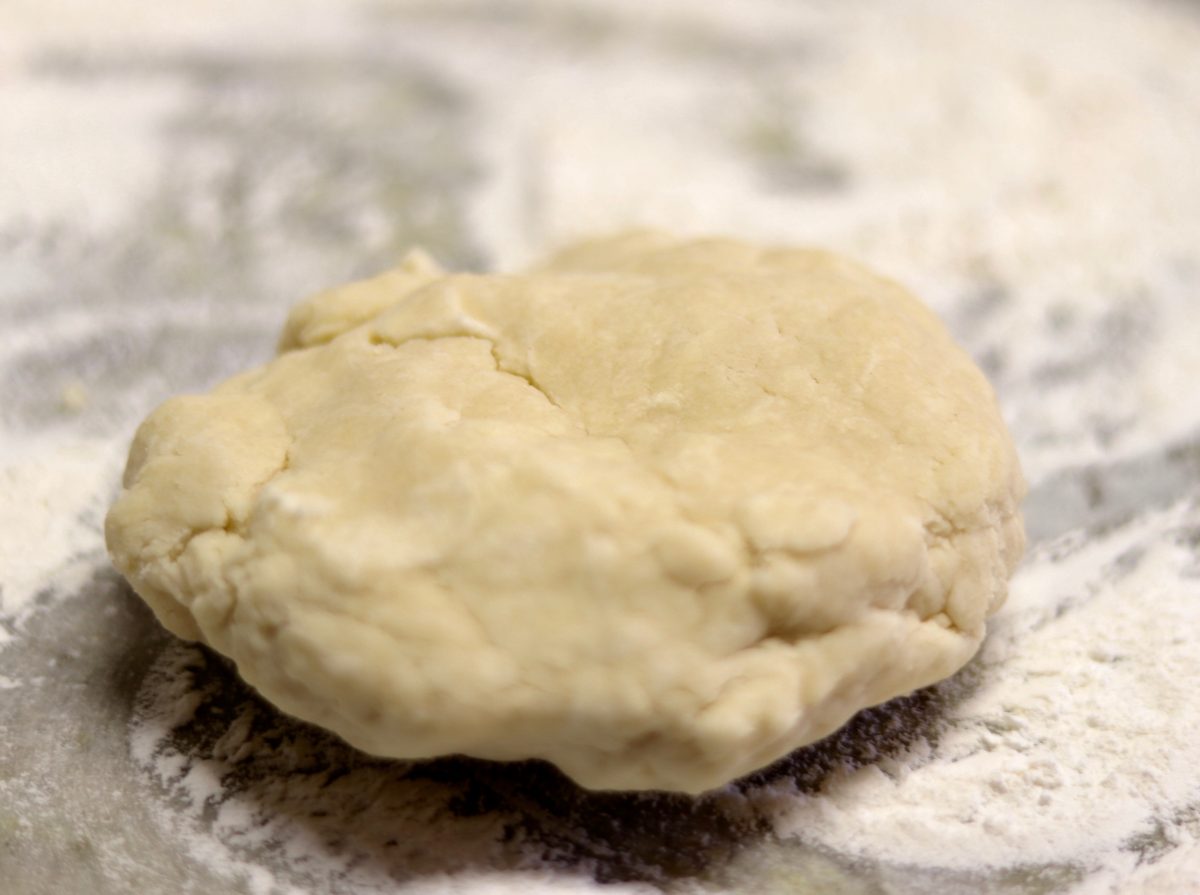
Divide the dough to form two disks.
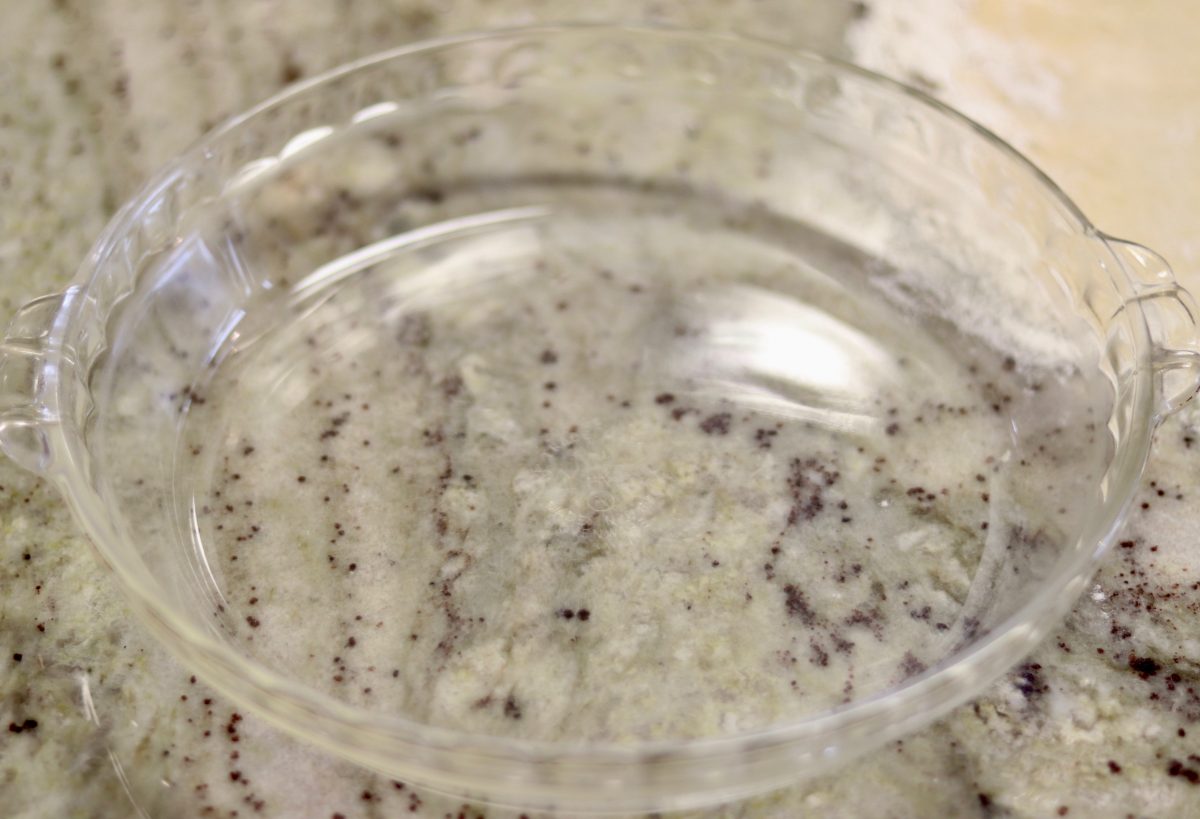
I like a glass pie dish because it’s predictable, and I can see the bottom of the pie.
A non-stick mat is revolutionary! I had to put music to it!
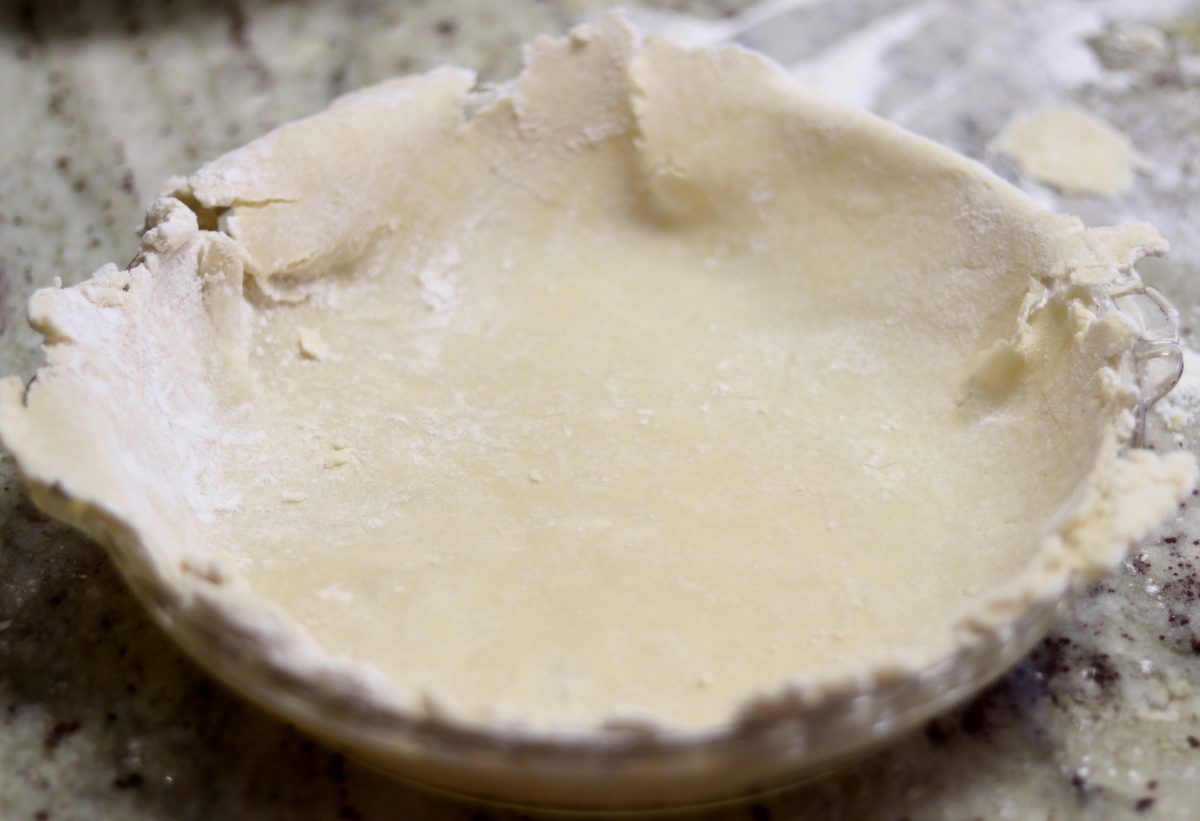
Trim the excess dough around the edge of the pie dish and keep the trimmings for pastry patching later.
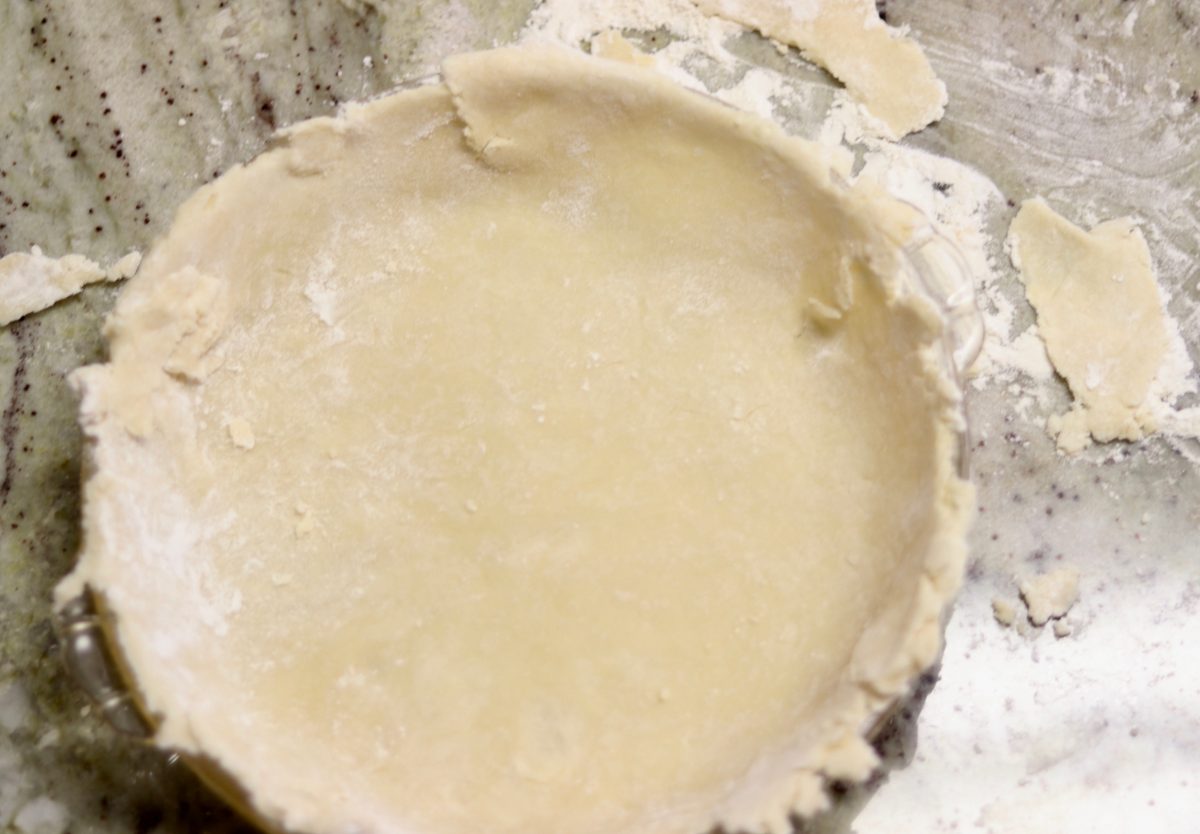
Observe the excess dough for patching.
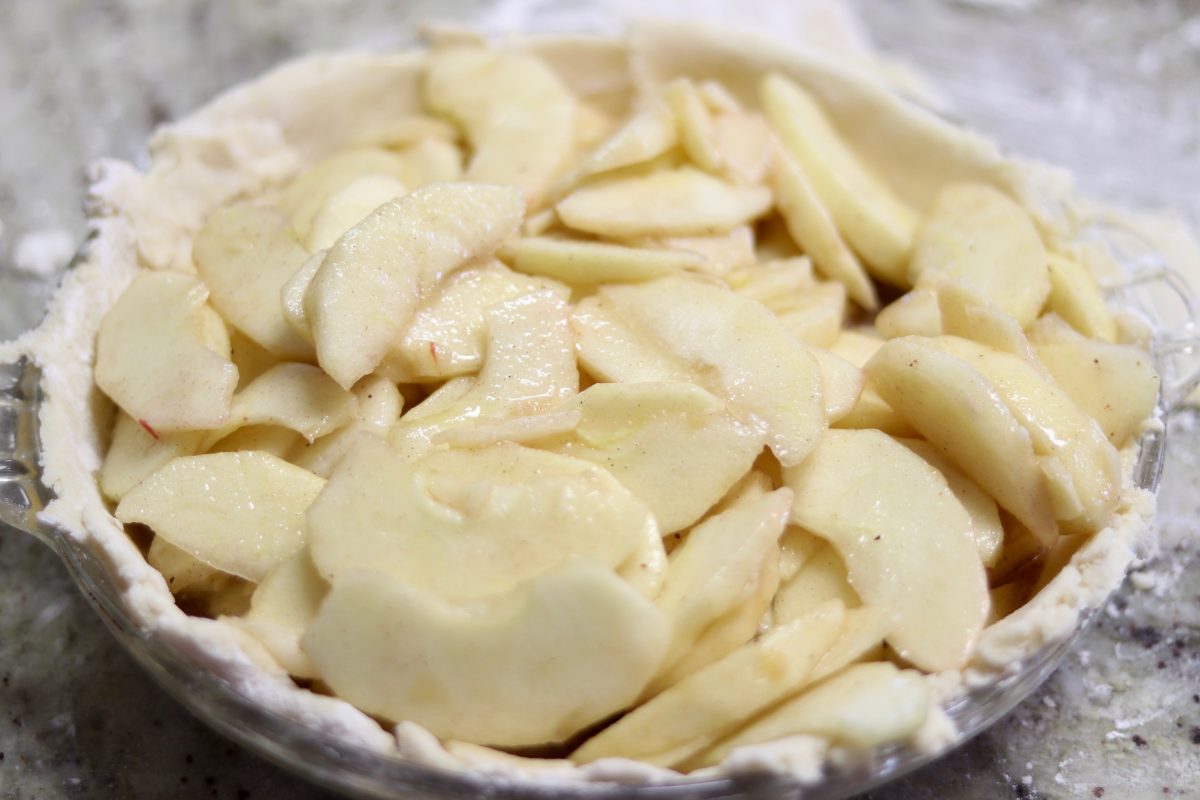
Add a couple pats of butter to keep the fruit filling from bubbling over.
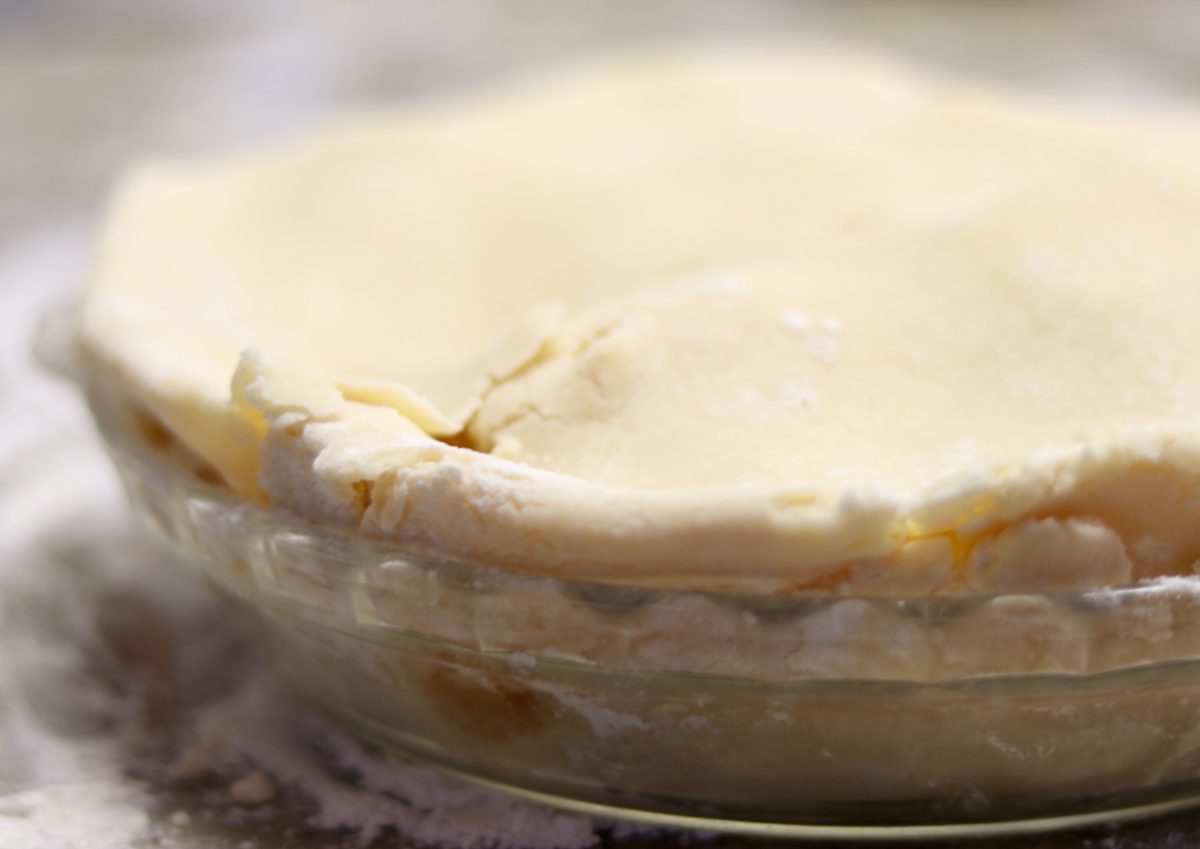
Roll out the second pastry disk, transfer the dough to the top of the pie
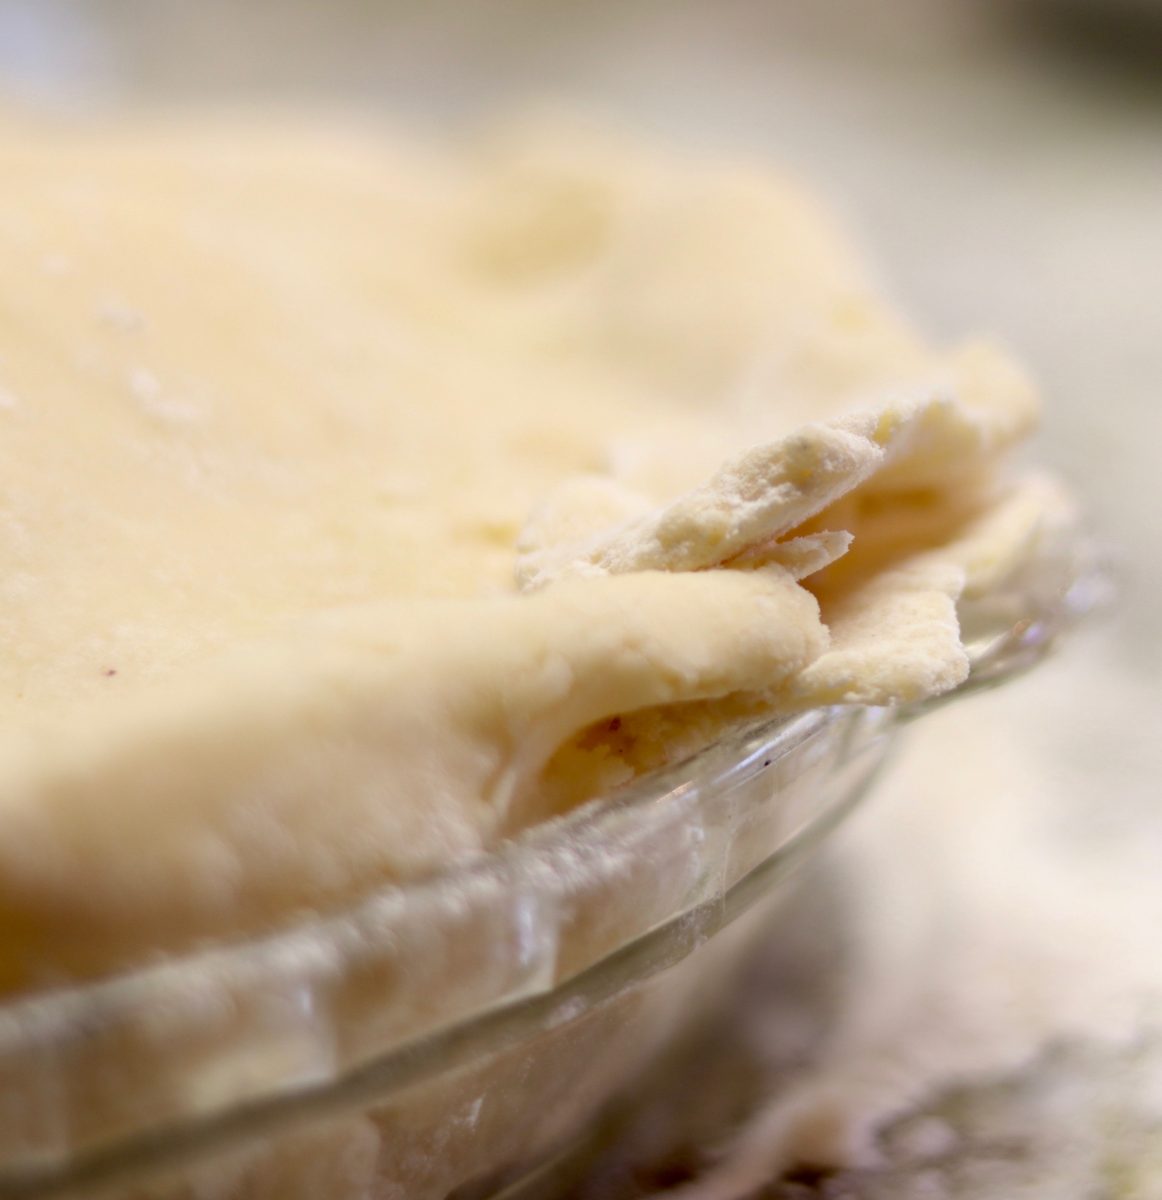
If you have a problem spot, patch it. Old World!
Everything tucked and patched
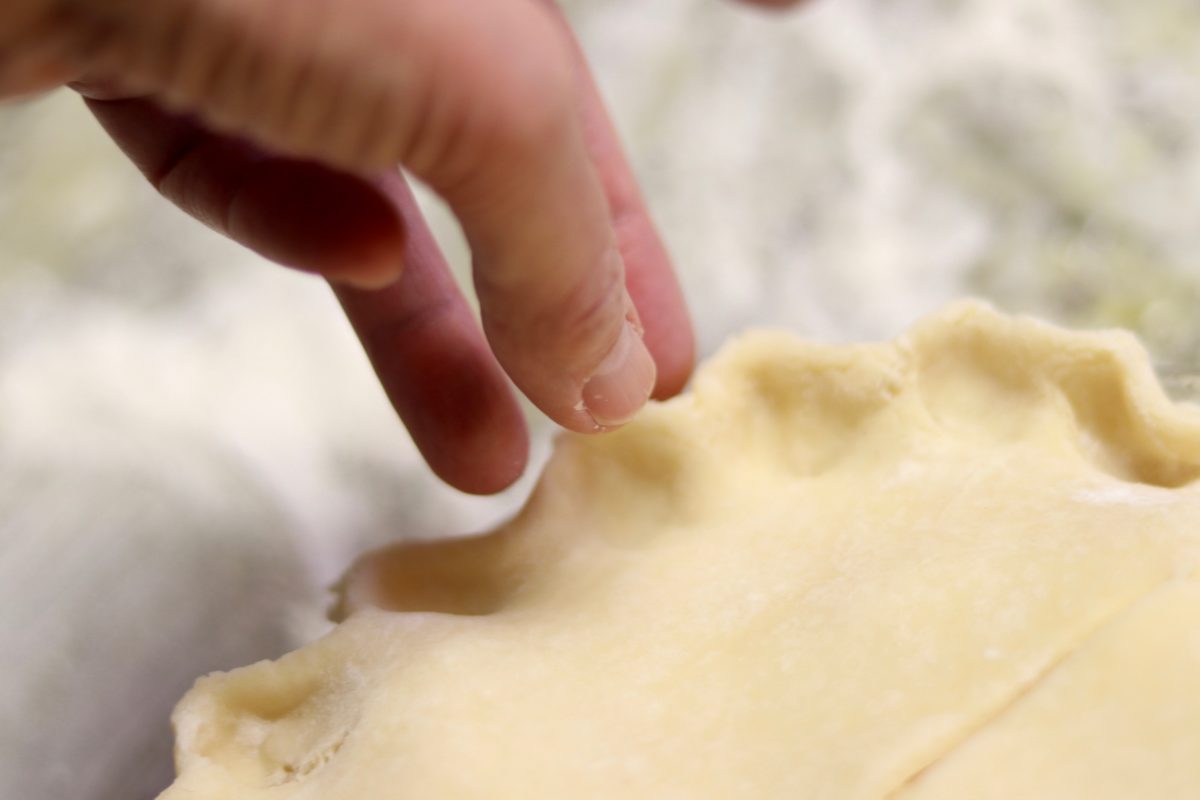
Pinch or flute the edge of the pie to seal the top and bottom crust. Thumb on top of the crust between the index and second finger that are positioned on the bottom crust.
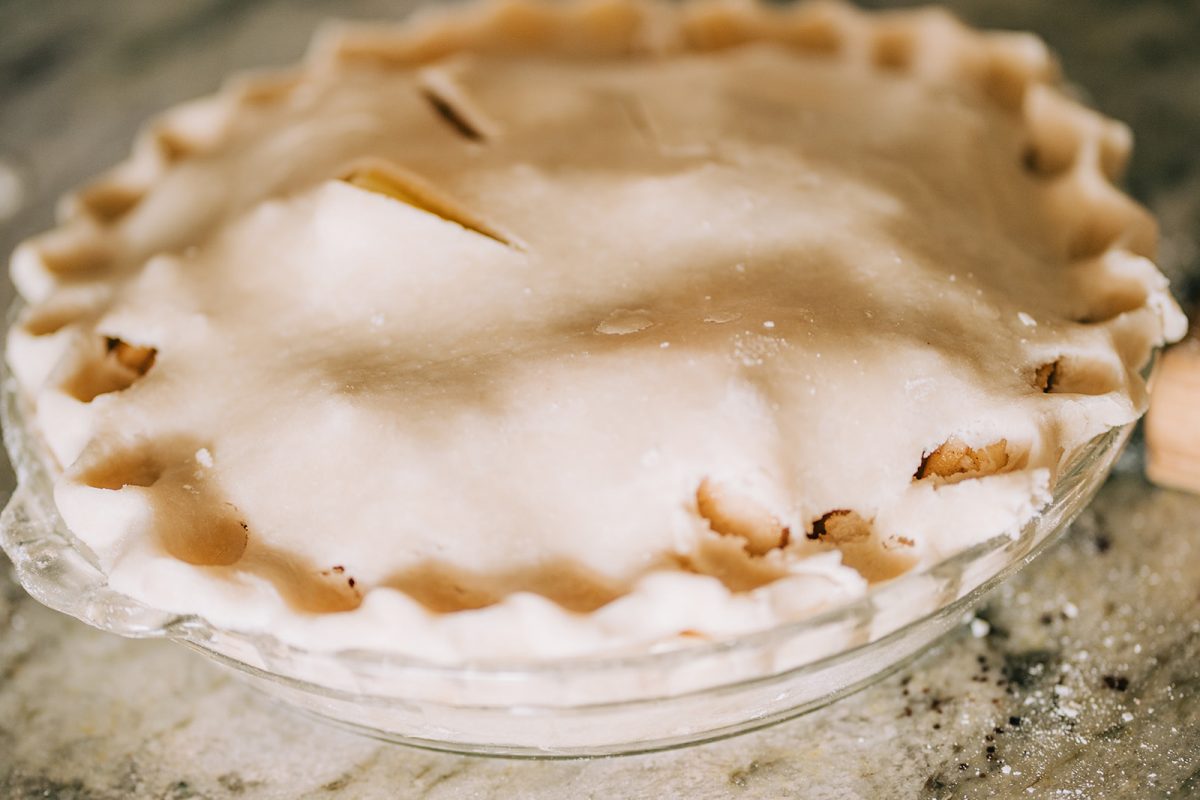
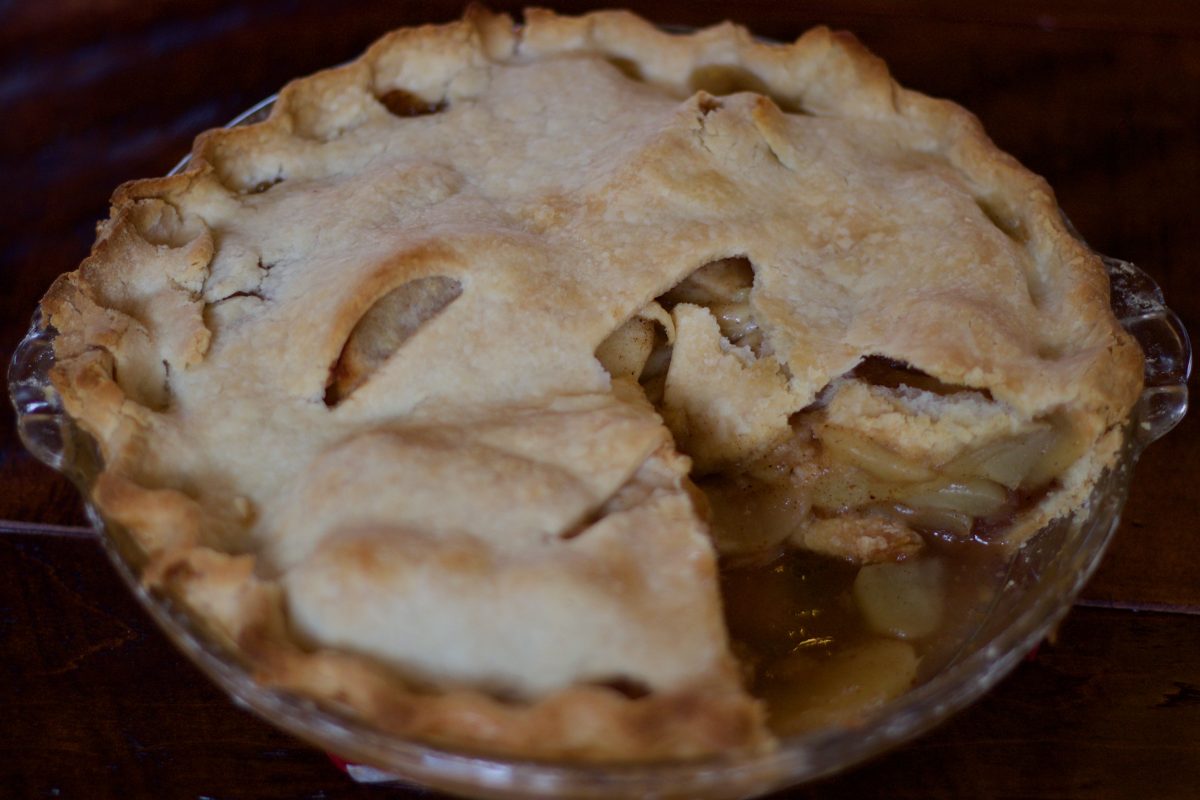
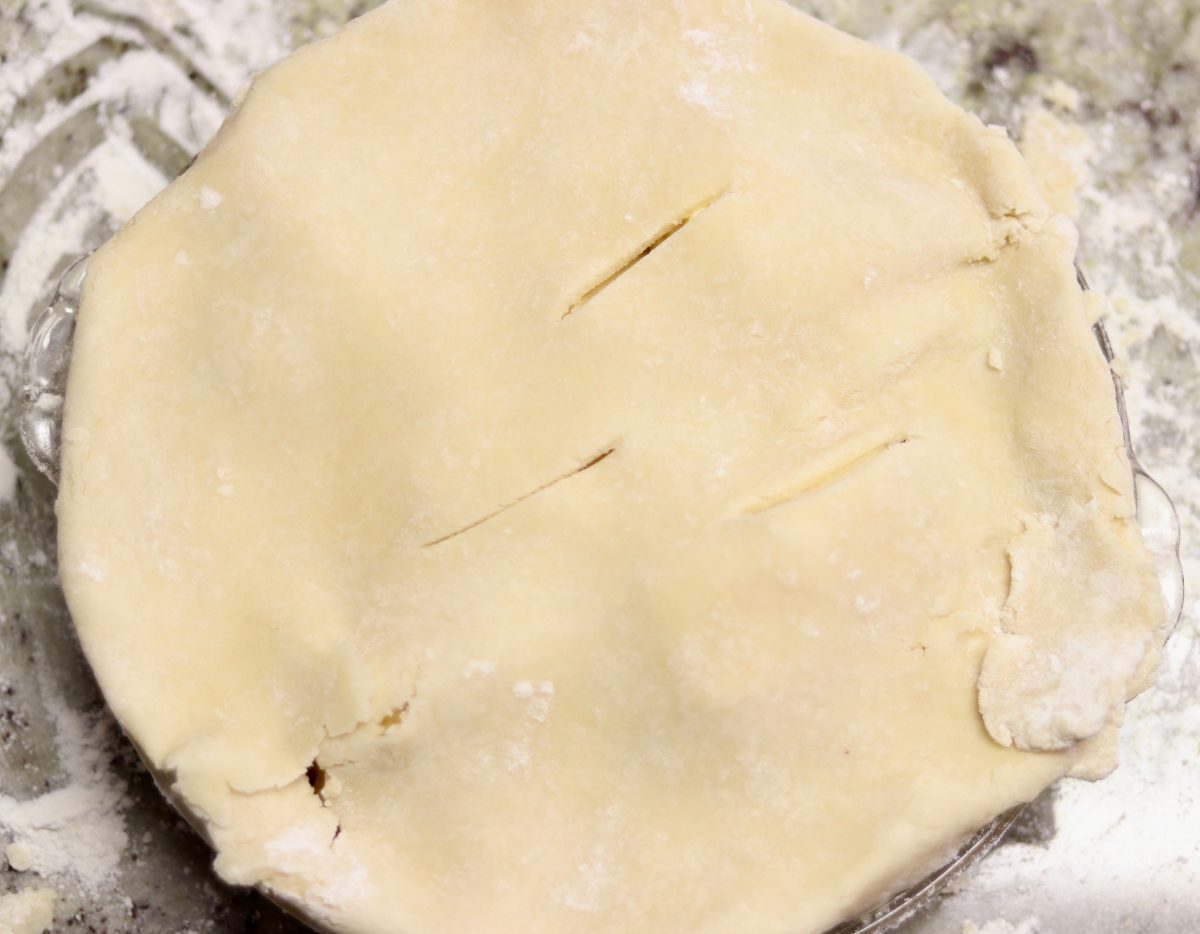
What a masterpiece!
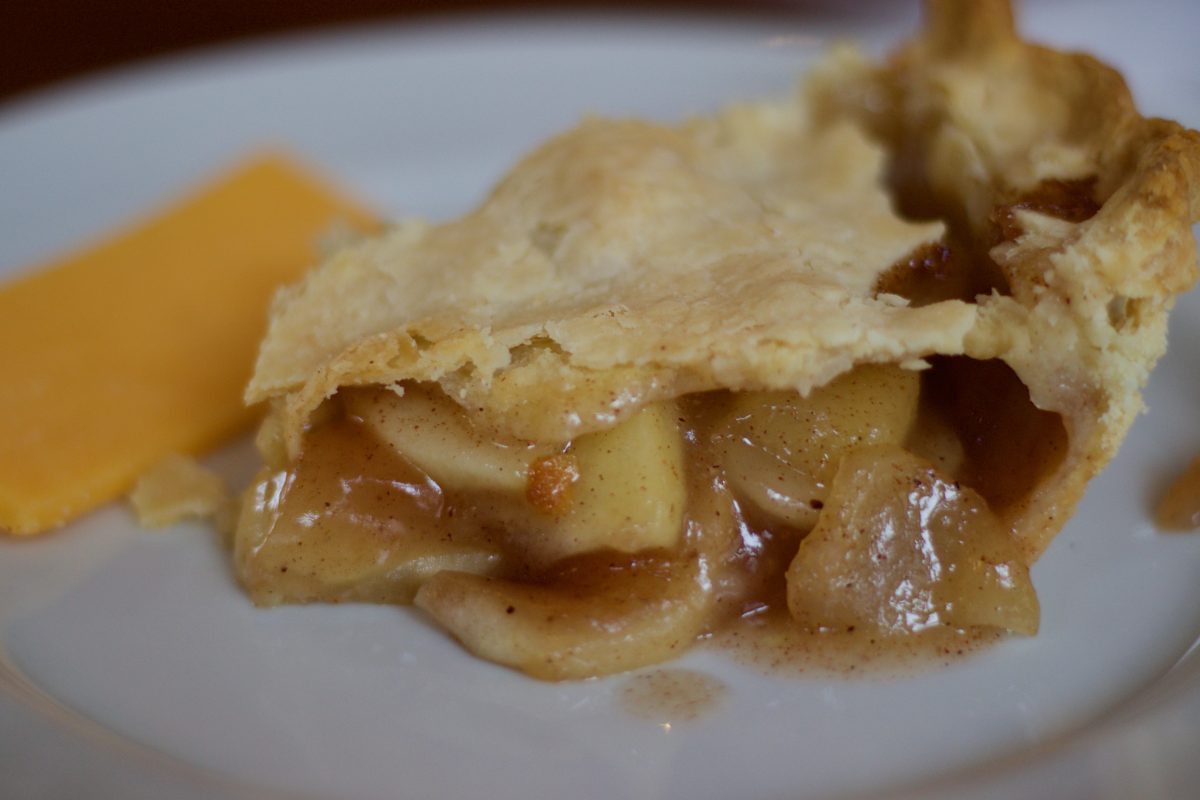
Here’s that missing wedge of pie with a piece of sharp cheddar cheese! Apple pie without cheese is like a kiss without a squeeze.
Print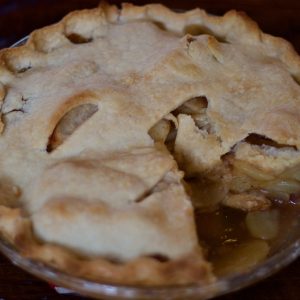
Perfect Old World Pie Crust
- Total Time: 70 Minutes
- Yield: One double-crust pie or two single-crust pies
Description
Follow this step by step process for successful light brown flaky crusts that are versatile for every kind of pie: fruits, meringues, custards, cream, nut, shepherd’s, chicken, beef, turkey, etc.
Ingredients
- 2 cups flour
- ¼ teaspoon salt
- 2/3 cup butter
- ½ cup COLD water (+ 1–3 tablespoons as needed)
Instructions
- Mix flour and salt in a bowl.
- Cut in the butter with a pastry blender until mixture resembles coarse meal or tiny peas.
- Add water slowly and blend with a fork. Dough needs enough moisture mixed though out the dry ingredients to hold together in a ball. As needed, add an additional tablespoon until dough
holds together in a ball. - Evenly divide the dough into two round flat disks. Wrap each disk in plastic wrap and chill for an
hour. - Sprinkle flour on counter or pastry mat (I highly recommend a non-slip, non-stick pastry mat!)
and rub on to rolling pin before rolling out the dough. - Roll the dough out into a circle shape that’s two inches larger than the pie dish. Transfer the
dough to dish by rolling it on to the rolling pin and unrolling over the dish. Trim the edge of the
pastry at the edge of the dish. - After adding the pie filling (try my Honeycrisp Apple Pie Filling recipe!), unroll the top pastry over the top of the pie.
- Tuck the top crust under the bottom crust and crimp or flute the edges to seal the crusts.
- Slice a couple of small vents in the top pastry.
- Bake at 400 degrees for 20 minutes then turn down oven to 350 degrees and bake for 35 minutes. Turning the temperature down keeps the pie from slouching. Look for steam and a bit of juice coming out of the vents. Insert knife into center of pie, if there’s no resistance then the pie is done.
Notes
For delicious apple filling, check out my Honeycrisp Apple Pie Filling recipe!
- Prep Time: 15 Minutes
- Cook Time: 55 Minutes
- Category: Pastries